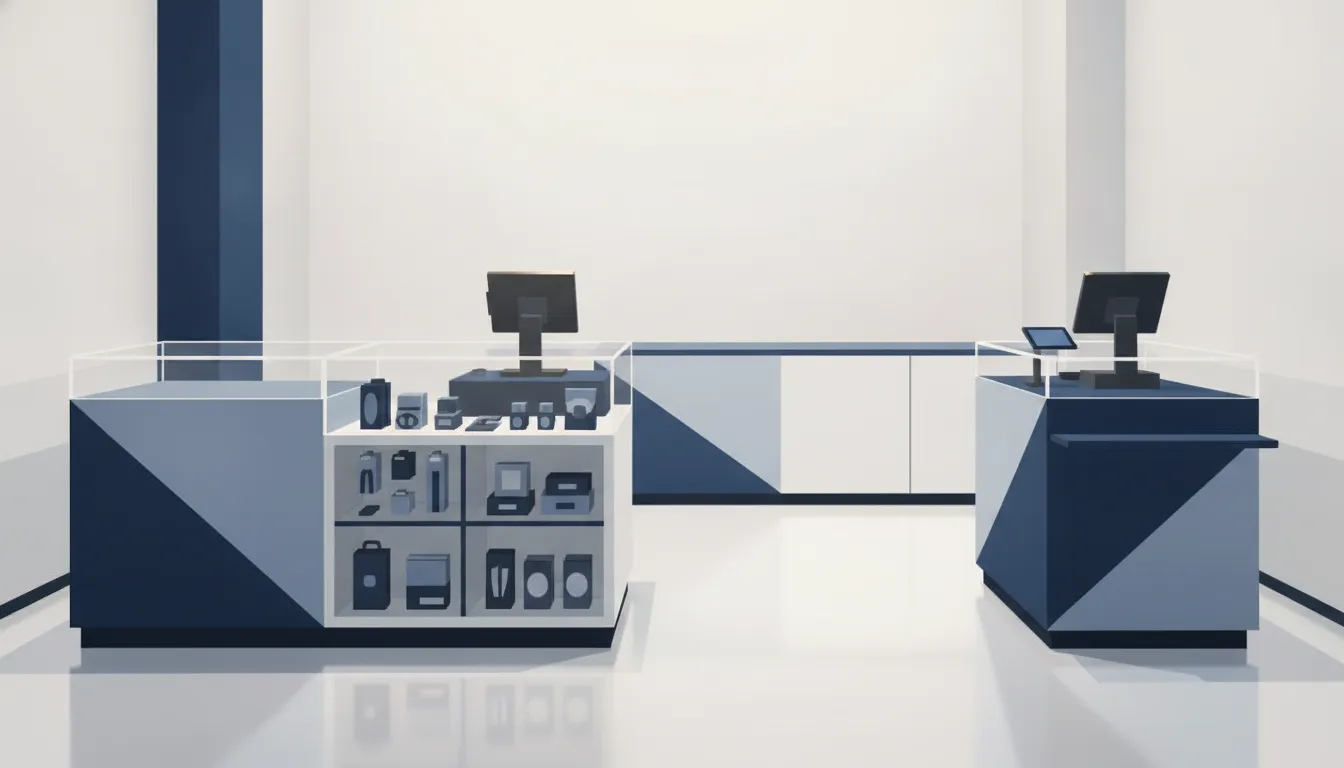


A cashwrap is the retail checkout fixture where payment, customer service, merchandise, storage, and staff workflow come together. A well-planned cashwrap gives the POS system a stable home, keeps supplies accessible, supports relevant last-minute merchandising, and helps customers move through checkout without unnecessary confusion.
Explore custom retail fixture solutions
A cashwrap is the designated transaction area in a retail store, usually built around a POS counter with space for merchandise displays. Its design can streamline checkout, organize staff work, and create measured opportunities for last-minute purchases without compromising the customer queue or employee workspace.
The best configuration depends on the store footprint, traffic pattern, staffing model, equipment package, merchandise program, and rollout plan. This guide explains the main cashwrap layouts, material choices, POS and storage decisions, and merchandising opportunities. It also covers planning checks that help a retailer move from a counter concept to a repeatable fixture program.
A cashwrap is the central transaction zone in a retail store. It typically combines a counter for the point-of-sale system with dedicated areas for bags, receipts, purchased items, and merchandise displays. It is more than a counter at the front of the store. It is a working station that must support the customer, the cashier, the technology, and the products moving through checkout.
Start with the transaction sequence. The cashwrap needs a clear place for the terminal, scanner, receipt printer, payment device, bags, and purchased items. It also needs enough concealed storage for supplies and enough open counter space for active POS work. When those elements compete for the same surface, staff have to reach around equipment or move items repeatedly. A considered layout keeps scanning, payment, bagging, and customer handoff orderly.
The fixture also serves a merchandising role. A small display can use a shopper's natural waiting position without blocking payment, the queue, or the staff work zone. Product selection, sightlines, replenishment access, and distance from the terminal all matter. The goal is not to fill every available inch. The goal is to create a controlled point of engagement that supports relevant add-on purchases while keeping checkout easy to complete.
That combination makes the cashwrap an operational touchpoint. S-CUBE's cashwrap design guidance and its overview of checkout counter types both support evaluating the whole workflow rather than choosing a shape in isolation. The right fixture gives each activity a defined place and leaves room for equipment, staffing, and merchandise programs to change.
The right cashwrap configuration should make the final stage of a visit feel clear, intentional, and easy to operate. Begin with customer arrival and departure points, then map the queue, cashier position, POS equipment, bagging area, and accessible path. The counter shape should follow those movements instead of forcing the store to work around a prefabricated unit.
Configuration should also reflect checkout volume. A single-station specialty store may need a compact counter with flexible storage, while a busy multi-lane operation may need repeated workstations and a predictable queue. For a regional or national rollout, document the clearances, equipment locations, finish package, and component relationships so the approved design can be reproduced consistently across locations.
| Configuration. | Best fit. | Planning priority. |
|---|---|---|
| Straight. | Compact or linear footprints. | Preserve queue alignment and usable counter depth. |
| L-shaped. | Separate customer and staff zones. | Coordinate the return with storage and POS equipment. |
| Curved. | Corner approaches or softer visual lines. | Protect radius, reach distance, and circulation. |
| Wrap-around or U-shaped. | Multiple work points and larger staff zones. | Confirm aisle clearances and customer approach. |
Material selection should balance appearance, durability, cleanability, fabrication method, and replacement practicality. High-touch edges and work surfaces experience different demands than decorative front panels. A durable cashwrap may combine a structural core, a laminate or finished wood surface, metal protection at exposed edges, and acrylic or glass where merchandise visibility is important.
Wood products, laminates, melamine, metal, acrylic, glass, wire, and mixed-medium assemblies can each serve a different role. Laminates can support repeatable finishes across a rollout. Metal can protect selected components or provide a precise industrial accent. Acrylic can support lightweight product presentation, while glass may be appropriate for secure display cases or premium merchandise. The choice should follow the brand standard and the work being performed at the counter.
Finish details matter because the cashwrap sits in a high-contact area. Specify color, sheen, edge treatment, hardware, lighting, and cleaning expectations before production. A finish that looks attractive in a sample may be difficult to maintain in a busy store. The most useful specification connects the visual target to a realistic daily operating environment.
Ask where impact is most likely, which panels need access, and how damaged components would be replaced. Consider removable access panels for service, protected corners, concealed fasteners, and modular parts when the program may expand. Value engineering can simplify construction, reduce unnecessary material variation, and protect the design intent without treating the least expensive initial option as the only measure of value.
For retailers evaluating custom programs, S-CUBE offers design, engineering, prototyping, material selection, and value engineering as part of its broader retail fixture services. Those capabilities help connect a visual concept to a manufacturable, repeatable fixture.
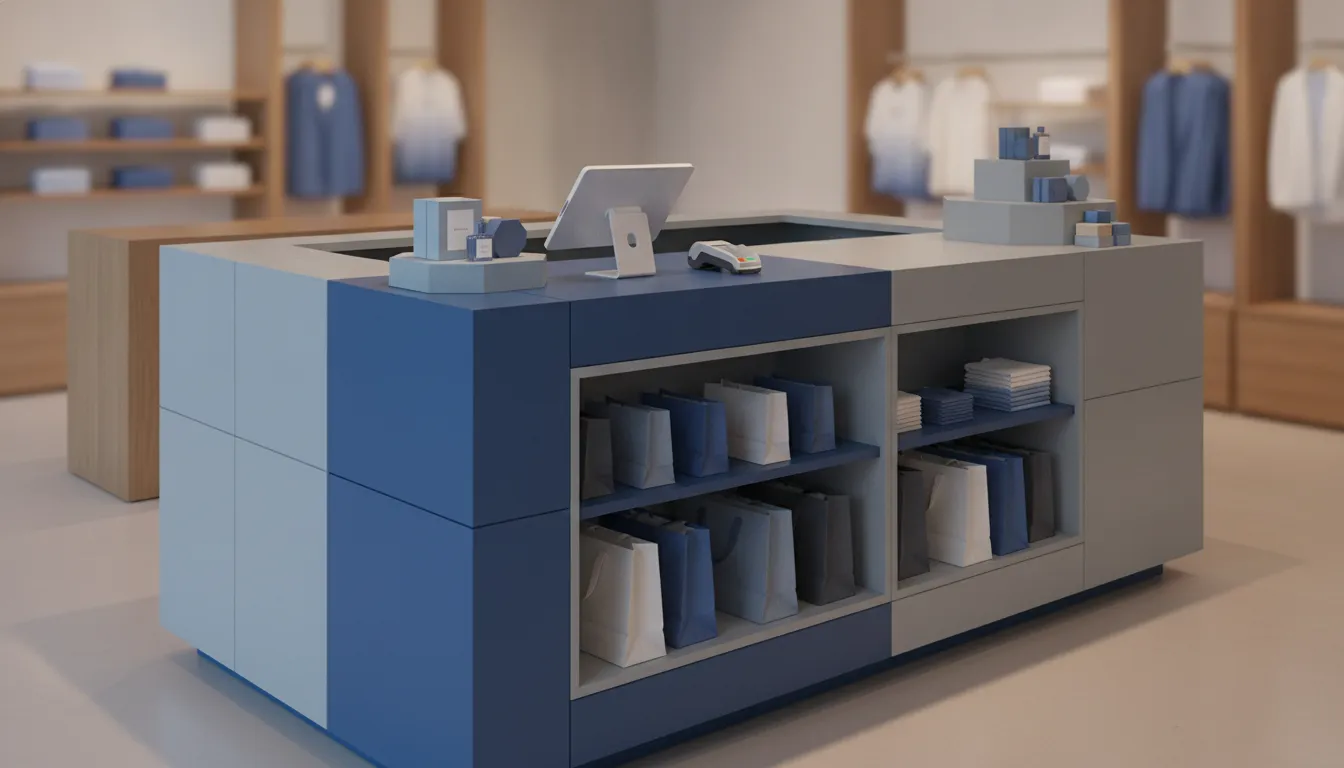
POS planning should happen before the fixture is finalized, not after the counter has entered production. List every device and identify how each one is used, serviced, powered, and secured. The terminal, scanner, receipt printer, payment device, monitor, cash drawer, and any customer-facing display may all need different locations and access requirements.
Place frequently used equipment within comfortable reach while preserving enough surface for active work. Reserve a defined bagging area and a clear handoff point for purchased items. Under-counter storage should hold bags, receipt paper, cleaning supplies, and other operating materials without forcing staff to crouch, twist, or leave the station repeatedly. The counter should support the transaction sequence rather than becoming a collection of disconnected equipment cutouts.
Coordinate outlets, data connections, cable channels, ventilation, and access panels with the equipment package. Concealed routing protects the customer experience and reduces trip or snag risks, but service access still matters. A technician should be able to reach the relevant connection without dismantling the whole fixture. Include a plan for future equipment changes, because payment hardware and store systems can change during the life of a rollout.
Do not assume every POS package has the same footprint. Confirm dimensions, mounting requirements, cable exits, security needs, and power specifications with the technology team. Early coordination reduces field modifications, visible cable clutter, and the risk that a finished counter cannot accommodate the approved equipment.
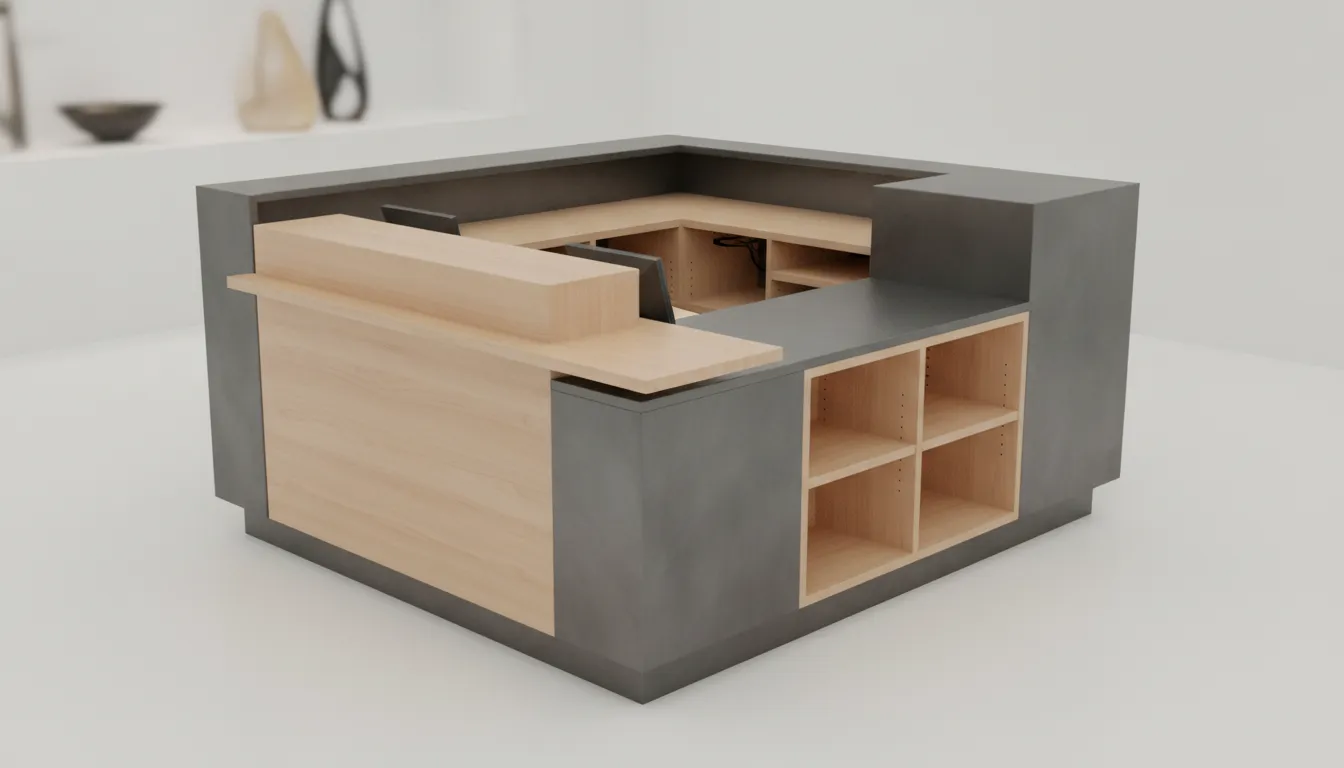
Cashwrap merchandising works best when it is relevant, limited, and easy to replenish. The display should support a product decision that can be made quickly while the customer is waiting or completing payment. Small accessories, replacement items, complementary products, and seasonal add-ons may fit this role, depending on the retailer's assortment and customer journey.
Use sightlines and reach zones deliberately. A customer-facing display should be visible without blocking the terminal or making the counter feel crowded. Staff should be able to restock from the back or from an accessible under-counter compartment. If replenishment requires moving payment equipment or crossing the queue, the display may create more operational friction than sales value.
Merchandising should also respect the difference between a display surface and a work surface. Keep the active payment area clear, define the place for completed purchases, and use dividers or compartments when products could drift into the transaction zone. A restrained program often communicates more clearly than a counter filled with unrelated items.
Traffic planning begins with the approach to the queue and ends with the customer's exit path. Measure the available footprint, note fixed architectural elements, and identify adjacent fixtures that may affect sightlines or circulation. The cashwrap should be easy to find without creating a bottleneck at the entrance, an aisle, or a nearby high-demand display.
Review counter heights, approach zones, turning clearances, queue width, and the location of customer-facing payment equipment with the project team. Accessibility is not a late-stage decoration. It affects counter geometry, device placement, staff positioning, and the way a customer can approach the transaction. Confirm applicable requirements with the retailer's facilities, design, and compliance teams rather than relying on a generic dimension.
Ergonomics also includes repeated staff actions. A cashier should not need to reach across a monitor, twist around a fixed panel, or lift supplies from an awkward compartment throughout the day. Prototype or mock up the work zone when the design is complex. A short operational review can reveal problems that a front elevation does not show.
A rollout-ready cashwrap needs more than a finished appearance. Document the bill of materials, finish schedule, equipment package, assembly method, shipping protection, and installation sequence. A pilot location can test the customer path, staff workflow, replenishment routine, and service access before the design is released across multiple stores.
S-CUBE supports programs that range from pilot stores to large multi-location rollouts, with domestic and international manufacturing options, project management, warehousing, and coordinated distribution. Its stated capabilities include managing complex programs with many SKUs and delivering fixtures directly to stores. The right production model depends on timing, volume, specification, and the retailer's tolerance for change during the program.
Before approving a cashwrap, bring design, operations, technology, merchandising, facilities, and procurement into the same review. A written checklist makes assumptions visible and helps the team compare alternatives on more than appearance.
This process turns a cashwrap from an isolated checkout counter into a coordinated retail fixture. It also gives the retailer a clearer basis for comparing custom, modular, and hybrid approaches. For evidence on checkout environments and shopper behavior, review the relevant peer-reviewed retail environment research. Fixture-specific decisions should remain grounded in the actual store program.
Discuss your custom retail fixture program with S-CUBE
A cashwrap is a retail checkout fixture and transaction zone. It commonly combines a POS counter with storage, bagging space, staff work surfaces, and customer-facing areas for relevant merchandise. The design should support the full sequence from queue approach through payment and handoff while preserving clear circulation and service access.
Efficient cashwrap design gives POS equipment, supplies, staff actions, and customer movement a defined place. That can reduce clutter and unnecessary reaching, make replenishment easier, protect the queue path, and create controlled opportunities for last-minute merchandising. It also helps a retailer document a repeatable solution for future locations.
The best materials depend on the brand, contact points, cleaning needs, budget, production method, and expected traffic. Wood, laminate, melamine, metal, acrylic, glass, wire, and mixed-medium assemblies can all be useful. Specify the structural and finish requirements together, and test high-touch details before a multi-location release.
Confirm device dimensions, mounting, power, data, security, cable routing, service access, and future replacement needs before finalizing the fixture. Place frequently used equipment within a comfortable reach zone, preserve active counter space, and provide accessible storage for bags and supplies. Coordinate the final plan with the technology team.
Common configurations include straight, L-shaped, curved, and wrap-around or U-shaped counters. Straight layouts suit linear footprints, while L-shaped and wrap-around designs can separate customer and staff zones or support more equipment. Select the shape based on traffic, queue behavior, clearances, storage, POS locations, and rollout requirements.
Plan a cashwrap that works for your stores
A cashwrap has to support the customer queue, staff workflow, POS equipment, storage, and merchandising without creating unnecessary clutter. Bringing those requirements together early can help your team move from a basic counter concept to a fixture program that fits the store and can be evaluated for rollout consistency. Contact S-CUBE Fixtures about custom retail fixture solutions.