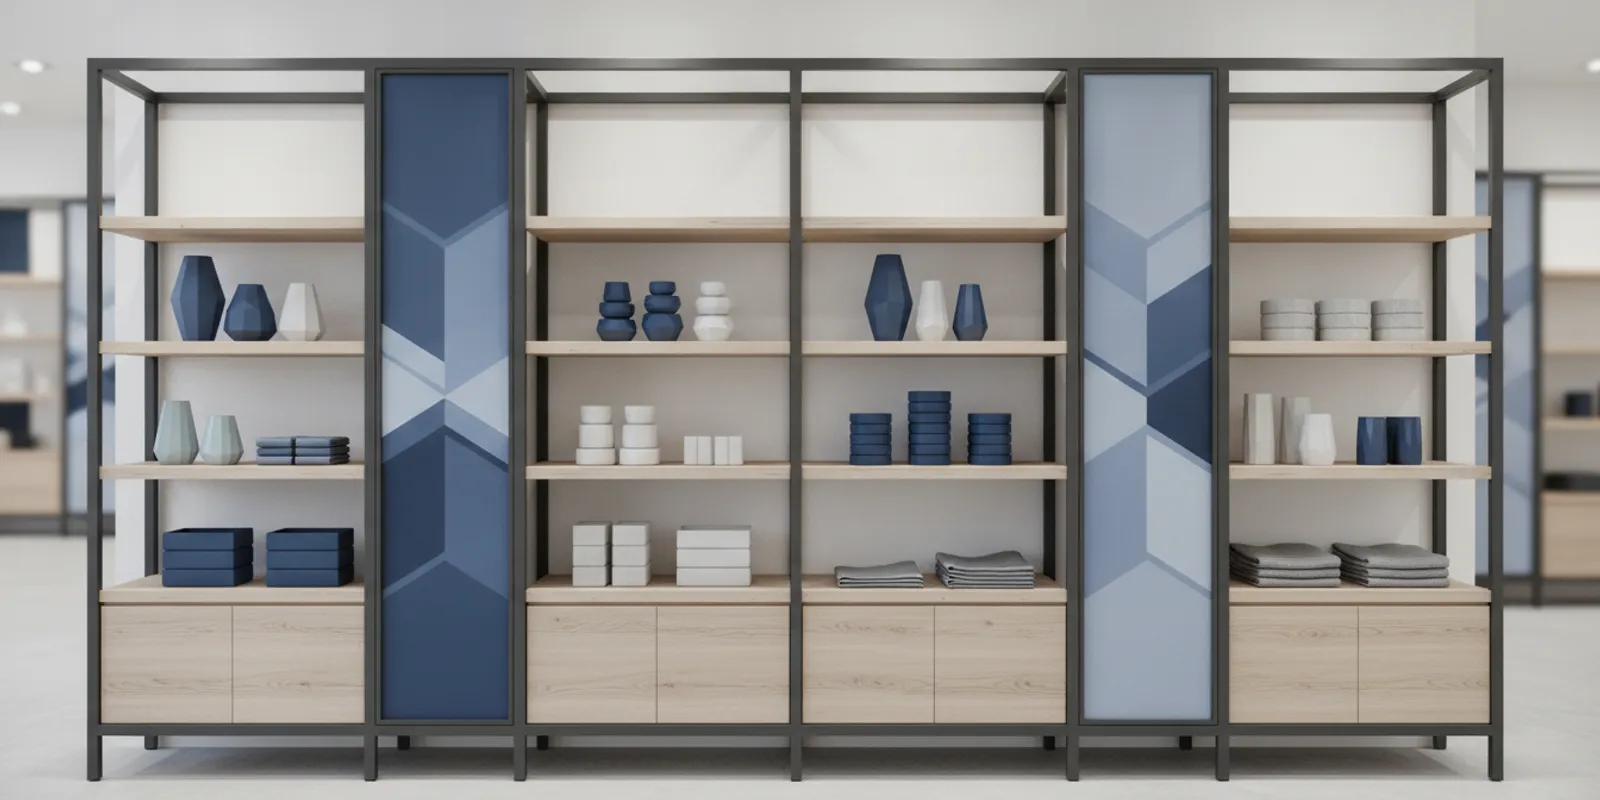


Custom look retail shelving can give a store a distinctive visual identity without requiring every shelf, bracket, and support to be engineered from scratch. Retail teams can combine repeatable structural components with coordinated finishes, trim, signage, lighting, and a small number of custom elements. The goal is to balance brand expression with repeatability, lead time, and practical maintenance across locations.
Explore custom fixture options
This approach suits retailers who want more than a stock-fixture appearance but still need a controlled scope that can be specified and reproduced. Decide which parts customers notice, which parts carry the workload, and what must remain consistent from store to store.
Custom-look shelving is a design strategy, not one product type. It blends repeatable structural elements with deliberate visual choices. A base may use standard uprights, shelves, or wall-mounted components. Brand character can come from finish, proportions, fascia, graphics, lighting, or the way shelving meets adjacent displays.
Think in three layers. The structural layer carries products and supports the planned layout. The visual layer creates a recognizable environment. The operational layer covers replenishment, cleaning, repairs, and replacement. A successful design considers all three before selecting details.
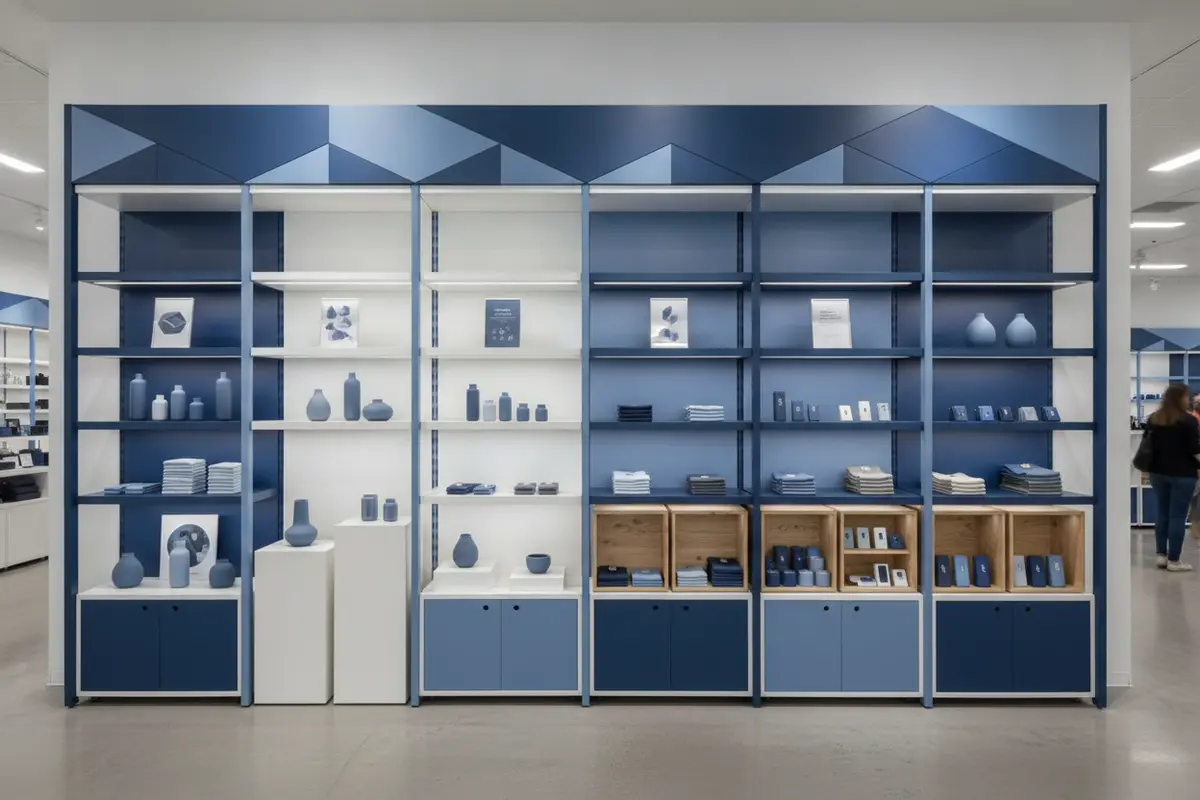
Customers experience a fixture as a whole, but teams can make deliberate choices about the details that shape that impression. Select a few signature features and repeat them consistently. Too many unique details can complicate purchasing and repairs without improving the experience.
For example, a retailer might use one repeatable wall system throughout a department, then add a custom end feature at the entrance and a distinctive sign band at key categories. The result can feel cohesive without making every bay a one-off.
The decision is not all or nothing. Standard components often offer the simplest route to repeatability. Modified systems add selected brand details while retaining a shared base. Fully custom solutions offer more control but require more decisions and coordination. The right mix depends on the fixture's role and how widely it will be used.
| Approach | Visual control | Repeatability | Planning considerations |
|---|---|---|---|
| Standard system | Mostly defined by available finishes and accessories | Straightforward when the same components are specified | Confirm dimensions, finish availability, and merchandise fit |
| Modified system | Selected finishes, trims, signs, or custom parts | Strong when the base and approved options are documented | Track variations, interfaces, and replacement parts |
| Fully custom system | Broad control over form and detail | Depends on drawings, specifications, and production controls | Allow time for design, engineering, prototype review, and validation |
Classify each fixture by purpose. Use repeatable standards for long runs and routine product display. Use modified systems where the store needs stronger brand expression or a better fit. Consider fully custom work when a fixture is central to the concept or solves a requirement that standard components cannot meet.
Consistency means more than using the same finish name. It depends on controlled specifications and clear decisions about what may vary. Identify the base configuration, approved options, and conditions for each option. Document variations for a region or store format rather than allowing local substitutions to accumulate.
A coordinated custom retail fixture program can bring design, engineering, manufacturing, logistics, and installation support into the same discussion. That matters when a visual detail also affects packaging, assembly, store access, or replacement planning.
Every added detail has an operational consequence. A special finish needs a clear reference for future orders. A custom sign holder needs a replacement plan. Integrated lighting needs service access. Resolve these questions while reviewing the design, not after stores begin using it.
When schedule matters, prioritize features with the strongest brand value. Keep the core system straightforward and avoid custom details that do not improve customer understanding or store operation. A retail-ready component may suit a straightforward need; custom elements can be reserved for a smaller number of high-impact areas.
Bring design, merchandising, operations, and procurement perspectives together early. Design may focus on visual coherence, merchandising on capacity and flexibility, operations on cleaning and repair, and procurement on sourcing and repeat orders. A shared brief helps resolve tradeoffs before drawings are finalized.
Include these items in the brief:
Include circulation and accessible-route needs in the site review as well as the visual brief. The U.S. Department of Justice provides information about the Americans with Disabilities Act; teams can use its resources when considering accessibility requirements for public-facing spaces.
When evaluating basic shelf needs, compare them with the broader design brief. A standard retail shelf component may address a straightforward display requirement, while a branded system may call for coordinated finishes, signage, or a custom transition. The important question is whether a detail solves a real visual or operational need.
A short review cycle can reveal conflicts before a design is repeated across stores. Evaluate one representative bay or a documented prototype against the same checklist the team will use for rollout. The aim is not simply to approve appearance; it is to confirm that visual decisions work with merchandise, replenishment, and the site.
This review is especially valuable for modified systems. A finish or trim detail may look right in isolation but create awkward joins across a long run. A sign band may align in one format and need an approved alternate in another. Recording the adjustment once helps avoid inconsistent local fixes later.
Store environments evolve. Departments change, assortments shift, and fixtures need repair. A usable record helps teams reproduce the intended appearance without relying on memory or an old sample that may no longer be available.
For example, if a department refresh changes only the sign band and two end features, the record should show which components remain unchanged and how revised elements connect. That helps preserve the system's identity while allowing a controlled update.
Before releasing a branded shelving specification, make the handoff practical for people who did not design it. A concise checklist can connect decisions made in planning to what arrives at each location.
For instance, if one store has a shorter wall run, state whether the approved solution is to remove a bay, use a defined end panel, or switch to another documented configuration. Avoid leaving that decision to improvised changes on installation day. A clear option preserves the design while giving the field team a usable answer.
Yes. Consistent finishes, trim, sign placement, lighting, and merchandise presentation can give a standard base system a recognizable look. Select a small set of visual details and repeat them.
Not necessarily. Store formats, footprints, and merchandise needs can differ. Define a consistent base and document approved variations so each location stays aligned with the overall design.
Consider it when a fixture is central to the brand experience, addresses a specific product or site need, or cannot be resolved with standard and modified options. Compare the extra design and coordination with the value of the difference.
Use replaceable components where practical, record finish and part information, and ensure signs, lighting, and trim can be accessed for service. Include operations staff in reviews before approving the design.
Discuss a custom fixture program
Start with the store experience you want to create, then identify which visual details need customization and which can rely on repeatable components. A clear scope helps teams build shelving that feels on-brand and remains practical to reproduce and maintain.
One practical next move is to assemble the fixture schedule, sample references, and rollout questions before approving the design. This gives each team a shared basis for decisions as the program develops.