


Gallery display fixtures are the structures and surfaces used to present art, collectibles, or specialty merchandise in a gallery-style retail environment. For multi-location retailers, the right plan connects viewing height, sightlines, access, lighting coordination, protection, and the ability to refresh displays without making every store feel identical. The practical answer is to begin with the objects and visitor path, then set fixture functions and repeatable layout rules before choosing finishes or ordering units.
Explore custom retail fixture solutions
A gallery-style presentation should make each item easy to notice and understand while supporting a comfortable route through the space. A fixture can frame a feature item, group related products, provide a surface for close viewing, or mark a boundary between browsing and circulation. Write these goals down before the team debates particular fixture forms.
Start with a short display brief. Record what is being presented, how shoppers should approach it, what information accompanies it, and which staff tasks happen nearby. A seasonal collection in a regional chain might need a prominent central feature and smaller supporting groupings. A specialty retailer with compact stores may instead prioritize a perimeter presentation and a clear counter interaction.
Keep the brief grounded in merchandising and operations. Do not assume a fixture alone guarantees security, preserves an object, or controls lighting conditions. Those outcomes depend on the complete environment and, where relevant, specialist requirements. Describe the fixture’s intended role and list questions that still need answers.
Answer in brief: Choose the fixture only after defining what visitors should see, how they move, what they may handle, and how store teams will maintain the presentation. Then test the arrangement in a representative location and document the approved version for rollout.
Display height affects what visitors notice first and how readily they can view an item. A mix of heights can create hierarchy, but too many competing peaks can make a room feel visually busy. Map the main viewing points: the entrance, key intersections, the approach to a focal display, and the places where visitors pause.
Use a floor plan and quick sightline review before finalizing placement. Mark the main travel route and draw views from typical standing positions. Check whether tall units block a feature, whether signs overlap nearby displays, and whether visitors can see where to go next. A physical mockup or taped floor layout can expose conflicts that a rendering may not show.
For example, a gallery selling framed prints might use a visible wall presentation as an anchor and a lower central surface for related merchandise. The exact arrangement depends on the room, products, and operating needs. The useful test is to review the view from the approach, not only from directly in front of the fixture.
Also consider whether the intended route works for visitors with different mobility needs. Review circulation and access requirements with the project’s responsible team; the U.S. Department of Justice’s ADA resource provides federal accessibility information. Treat accessibility review as part of space planning, not an assumption based on a fixture drawing.

Protection and access are not opposite choices. Identify which objects need a boundary, which items are intended for hands-on browsing, and what staff must reach during opening, replenishment, or closing. A display that is difficult to service can encourage workarounds; one that invites handling where it is not intended can undermine the presentation.
Make an item-by-item access schedule. Note whether customers may handle each item, whether staff assistance is expected, and how the item is removed or replenished. Then identify a fixture feature that supports the policy: a defined display zone, controlled opening, stable presentation surface, or nearby staff position. Do not describe a fixture as theft-proof or claim a level of protection that has not been verified.
Have staff test the routine with representative products and packaging. Can they reach the display without moving neighboring merchandise? Is there room to open or service the unit? Does the approach create a bottleneck at busy times? Where an enclosed display or specialized control is needed, involve the appropriate store and security stakeholders early.
Lighting affects how a product or object is seen, but fixture planning should coordinate with lighting design rather than make unsupported claims about illumination or preservation. Record the intended lighting approach, fixture position, nearby power needs, and any project restrictions. Confirm the details with responsible lighting and facilities professionals.
Look for practical conflicts during design review. A sign, canopy, or tall display can interrupt a light source. A reflective surface can create unwanted glare from a visitor’s approach. A fixture may need a planned route for wiring or access to adjacent building systems. These issues are easier to resolve on drawings than after installation.
Use a sample bay or mockup when a finish, reflective surface, or light interaction is uncertain. Review it at intended viewing angles and under the planned lighting conditions. Capture approved positions and finish references in the fixture schedule so the decision can be repeated across locations.
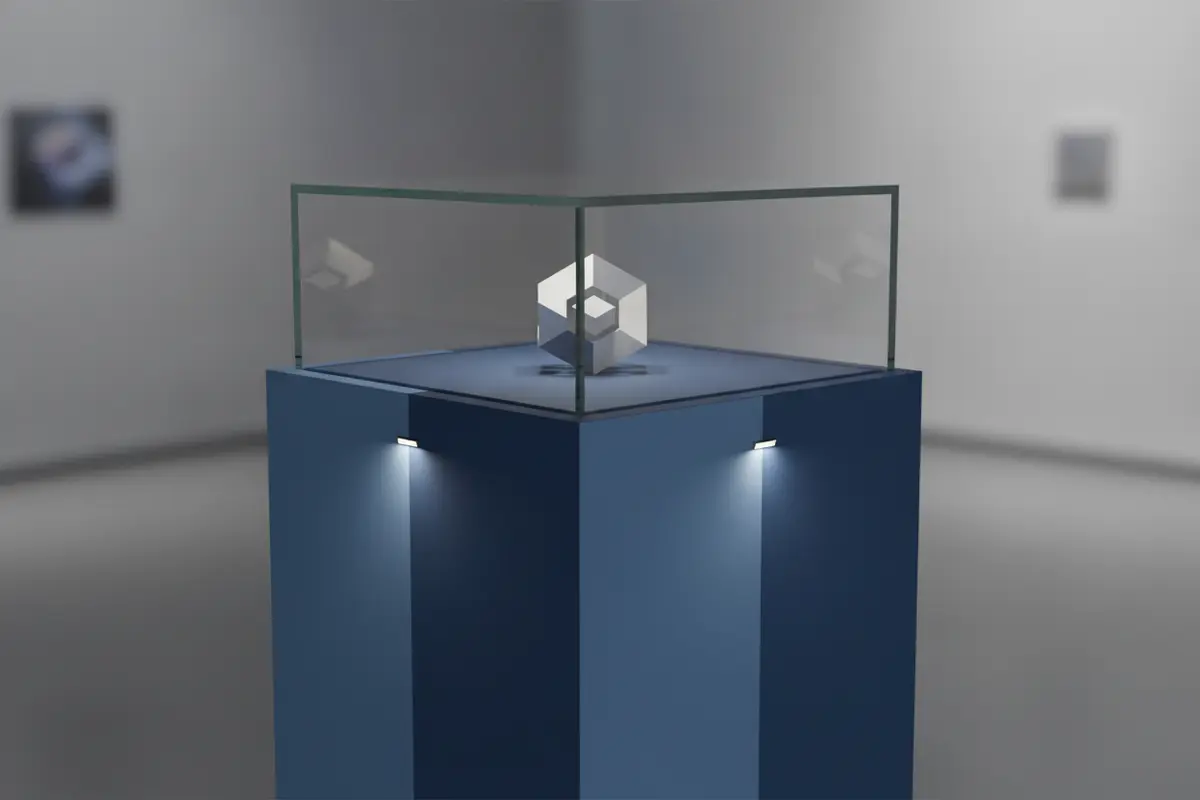
No single fixture type suits every collection or store. Compare options by display task, flexibility, visibility, staff access, and fit with the wider store environment. This table is a planning aid, not a specification or price list.
| Display approach | Useful when | Plan for | Watch for |
|---|---|---|---|
| Wall presentation | Items benefit from a clear vertical viewing area | Wall conditions, spacing, grouping, and sign positions | Overcrowding or blocked views from nearby zones |
| Pedestal or freestanding unit | A focal item needs space around it | Approach from intended sides, stability, and circulation | Obstructed routes or a display that interrupts the room |
| Countertop presentation | Small items or staff-assisted browsing are central | Reach, service flow, and replenishment access | Clutter at the point of service |
| Enclosed display | Items need a defined boundary or staff-managed access | Viewing angles, opening method, service, and lighting | Glare, difficult access, or unclear operating responsibility |
| Modular display | Collections and campaigns change over time | Connections, approved arrangements, and stored components | Uncontrolled local changes that undermine consistency |
Retail products can help teams explore presentation ideas, but they are not a complete multi-store specification. For instance, review wall shelving as a reference for a wall display, or compare acrylic display risers for a small-item grouping. Confirm dimensions, application, and suitability against the actual project before specifying an item.
Modular planning is useful when merchandise, campaigns, or store footprints change. It does not mean every location should improvise. Define which elements can move, which positions are approved, and which elements establish the essential presentation. That gives teams room to adapt while preserving the design intent.
Separate the fixture program into stable and changeable components. Stable components might include a core display family, finish direction, or sign-placement rules. Changeable components might include a limited set of shelves, risers, or product groupings. Document allowed variations and provide a visual reference for each approved configuration.
Consider a chain introducing rotating seasonal collections. A core fixture footprint can stay in place while a defined surface changes its contents and arrangement. Store teams can refresh the presentation without shifting the main circulation plan. For a larger assortment change, the design team can revise the approved configuration rather than letting each store solve the issue independently.
A useful brief gives designers, suppliers, facilities teams, and store operations the same practical picture. Explain the customer experience and constraints, not just a preferred fixture image.
For a pilot, choose a representative store rather than an unusually easy site. Review the display with the people who will merchandise and service it. Record issues, decisions, and changes before expanding the program. A pilot is most useful when it tests both the fixture and the process for repeating it.
Compare options against shared requirements. Unit cost alone does not show whether a solution fits the rollout, arrives in the needed sequence, or is straightforward to service. Ask suppliers to explain assumptions and identify what each proposal includes. Keep comparisons aligned to the same quantities, configurations, and scope.
For custom programs, consider involving a partner early enough to evaluate design, engineering, manufacturing, logistics, and installation support as one connected plan. S-CUBE Fixtures describes its work as spanning those stages and serving multi-location retail programs. Confirm the approach for the specific project scope.
Before production or distribution proceeds, close decisions that affect store execution. Confirm approved drawings, fixture quantities by store type, sign and lighting coordination, packaging and delivery assumptions, and who answers questions when site conditions differ from the plan. Keep one controlled version of the specification.
Review the pilot’s practical results with merchandising and store operations. Did the display read clearly from the intended approach? Could staff complete routine tasks? Were there conflicts with signs, lighting, or adjacent merchandise? Capture findings as revisions to the standard, rather than informal instructions that disappear after the first store.
For large programs, maintain a location matrix connecting each store to its approved configuration and documented exceptions. This helps teams distinguish deliberate adaptation from accidental difference and gives suppliers and field teams a shared reference as the program develops.
Discuss a custom retail fixture program
They are fixtures and surfaces arranged to present products or objects in a gallery-style setting. They may support wall presentation, freestanding focal displays, countertop browsing, or enclosed viewing, depending on merchandise and operations.
Start with the item, intended viewing position, visitor route, and sightlines to nearby displays. Test the arrangement from actual approach points and check that signs and neighboring fixtures do not obscure the focal presentation.
Modularity can help when assortments or campaigns change, especially across multiple stores. Define which components may change and document approved configurations so flexibility does not create inconsistent presentations.
Coordinate fixture positions, surfaces, signage, and power or access needs with responsible lighting and facilities professionals. Test uncertain interactions in a representative setting instead of assuming a fixture will produce a particular lighting outcome.
A pilot should test visual clarity, circulation, staff access, replenishment, and repeatability of the approved layout. Choose a representative location, record operator feedback, and resolve lessons before scaling the plan.
Thoughtful gallery display fixtures begin with a clear presentation goal and a workable store routine. By documenting sightlines, access, lighting coordination, and approved ways to adapt, retail teams can build a display plan that is easier to review and repeat across locations.