

.
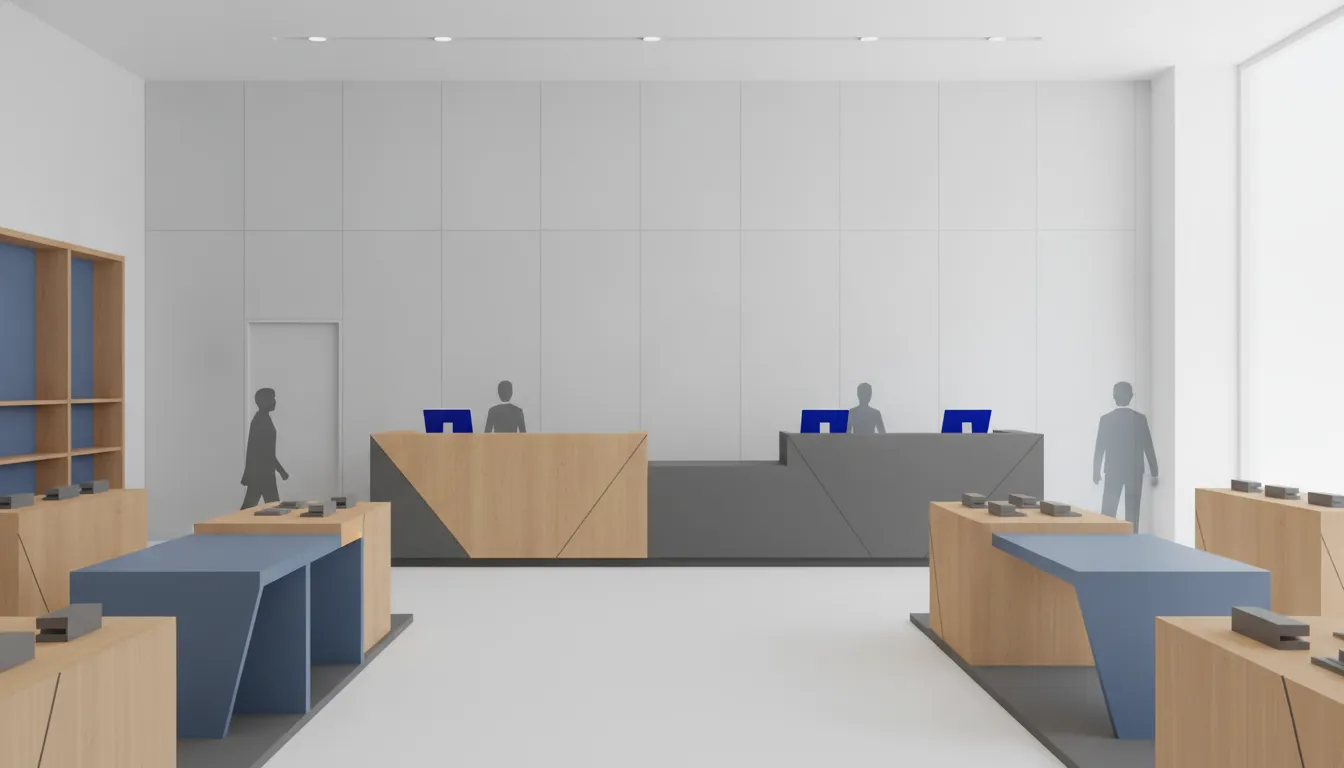
A retail counter is more than a place to complete a transaction. It is where customer movement, employee workflow, storage, technology, accessibility, and brand presentation meet. If those requirements are not resolved together, a counter can look polished while creating delays, awkward reaches, limited flexibility, or inconsistent execution across stores.
Explore custom retail fixtures with S-CUBE Fixtures for a counter program built around your store requirements.
Effective retail counter design starts by defining the work the counter must support. The next step is aligning layout, dimensions, materials, technology, and visual details with customer and employee needs. The result should make transactions clear, comfortable, and repeatable without separating operational performance from the brand experience.
That planning becomes more precise when the counter's primary users, interaction volume, service sequence, and future changes are documented first. Begin by identifying the job the counter must do, rather than choosing a shape or finish before the requirements are clear.
A counter is a transaction-based work area where people on both sides share information, exchange products, or complete a purchase. Before selecting finishes or shaping the front elevation, define what the counter must support during a normal shift. That operational brief gives the design team a clearer basis for decisions and helps keep the fixture aligned with the store experience.
Identify who uses the counter and what each person needs to accomplish. Customers may ask questions, present merchandise, collect an order, or complete a payment. Employees may need to handle products, communicate with customers, access work tools, and move through the station without awkward reaches. A counter that looks polished but slows these exchanges creates friction at the point where service should feel most direct.
Not every counter carries the same workload. Guidance from the University of Washington notes that there is no one-size-fits-all workstation for cashiers, because worker characteristics, equipment, and tasks vary. A primary service counter with several employees and frequent customer interactions has different planning requirements than a smaller station assigned to one or two employees with less frequent use. Document expected transaction volume, staffing levels, peak periods, and the sequence of work before finalizing the footprint.
The counter is also often a focal point when customers enter a department, so its appearance has additional importance. That does not mean branding should override workflow. Checkstand height, scanner orientation, and handedness can affect bending and shoulder or arm effort, according to the same University of Washington research. The strongest retail counter design treats employee safety, customer interaction, and visual expression as connected requirements rather than separate selections.
A counter should make the next action obvious without forcing customers and employees into the same path. Start by mapping the approach from the main aisle, where customers pause, how a queue forms, and where completed transactions exit. Then place the working surface, payment point, pickup area, and merchandise so each handoff follows a short, visible sequence. This is more useful than selecting a counter shape in isolation.
Use sightlines to show customers where to approach and where to wait. Avoid placing displays, queue rails, or promotional fixtures where they create a blind corner at the counter entrance. A main counter with frequent interactions and multiple staff needs more deliberate separation between the active service zone and passing traffic than a smaller station used occasionally. Keep the queue from spilling into product browsing or an adjacent accessible route.
Transaction surfaces should support a natural exchange of products, information, and payment. Shallower counters can reduce the reach required when employees pass items back and forth. A clearly defined pickup or handoff point can also prevent customers from leaning across the workstation. Keep employee movement behind the counter direct, with supplies close enough to reduce repeated crossings. The counter may also be a focal point when customers enter, so sightlines should support efficient service and clear merchandising without turning the work area into visual clutter.
Accessibility belongs in the circulation plan, not as an isolated lower section added at the end. Federal guidance addresses retail routes from arrival and entrances through checkout aisles, queues, and sales or service counters. As a planning reference, accessible walking surfaces generally require 36 inches of clear width, subject to specific exceptions. Confirm the final layout against the applicable standards and project requirements. For more context, see accessible retail counter planning.
Accessibility and ergonomics should be resolved while the counter is still a layout decision, not added after millwork is approved. The 2010 ADA Standards establish minimum requirements for newly designed, constructed, or altered commercial facilities, including accessible routes and usable spaces. Requirements vary by project, so treat the dimensions below as planning references rather than project-specific legal advice. Coordinate the final layout with the applicable code requirements and project professionals.
Map the customer route from the entrance to the counter, queue, transaction surface, and exit. Retail accessibility includes more than the counter itself. The Access Board identifies entrances, queues, sales and service counters, and checkout aisles as connected parts of the accessible experience. As a baseline planning reference, accessible walking surfaces generally require 36 inches of clear width, while floors should be stable, firm, and slip resistant. Confirm turning, queue, door, and site conditions separately.
At the transaction point, provide clear floor space for a forward approach and plan for knee and toe clearance where the surface requires it. ADA work and dining surfaces generally fall between 28 and 34 inches above the finished floor. A lower accessible segment can be integrated into a larger branded counter without making the service zone feel separate. For additional guidance, see this resource on accessible retail counter planning.
Customer access does not eliminate employee workflow requirements. UCSC guidance emphasizes that the workspace must accommodate customers while incorporating workstation elements that help keep staff safe. Use the transaction depth, device locations, handoff points, and employee stance to reduce unnecessary reaching. Shallower counters can shorten the reach required when staff and customers pass items back and forth. Repeated muscle use, excessive force, and awkward postures can contribute to work-related injury, so avoid treating one fixed setup as suitable for every worker or task.
Storage competes directly with knee space, legroom, and service access. Place frequently used supplies within practical reach, but do not fill every void beneath the counter with fixed cabinets. Removable mobile units can preserve flexibility when knee clearance needs to change, and under-counter storage should be used only where the required clearance remains available. One academic counter guide illustrates a 30-inch minimum knee-space width, but dimensions must be checked against the governing standard and the actual fixture configuration.
Technology should be documented as part of the counter's operating requirements, not added after the millwork is approved. Payment devices, scanners, customer-facing screens, receipt equipment, and employee computers each affect reach, sightlines, service access, and the space available for storage. A clear technology plan gives the design and engineering team something practical to build around.
Start with an equipment schedule that identifies each device, its footprint, orientation, mounting approach, cable path, power source, data requirement, and replacement access. Include the employee station as well as the customer-facing side. A transaction counter may place the customer surface beside the employee work area or directly in front of it. So the arrangement should follow the actual handoff and payment workflow. Berkeley's counter guidance illustrates why work-surface depth, computer position, and clearance need to be resolved together.
Scanner orientation and handedness can influence shoulder and arm effort, while checkstand height affects back bending. These details make a generic device cutout a poor substitute for observing how employees work. Document who uses each station, whether work is seated or standing, and where items move during a transaction. Height-adjustable workstations may support varied arrangements, but the appropriate solution depends on the retailer's equipment and workflow.
Leave a defined route for service personnel to reach power, data, mounts, and replaceable devices without dismantling the entire counter. Keep removable components and under-counter storage from blocking required knee clearance or employee movement. Plan spare capacity where equipment may change, and record those assumptions in the drawings. Flexibility, adjustability, safety, and lifecycle value are useful design goals, but they must be translated into specific requirements before fabrication. S-CUBE's documented design process includes CAD, technical drawings, material recommendations, and functional prototypes that can help teams evaluate those requirements before production.
Material selection should follow the counter's job, the store environment, and the level of consistency required across locations. A customer-facing focal point may need a refined finish, while a high-contact work surface must also tolerate repeated use, cleaning, and daily handling. The strongest retail counter design decisions balance appearance with the realities of operations.
Wood can support warmth and a crafted brand expression. Metal can add structure and a durable, technical character. Acrylic and glass can create visibility, lightness, or display value, while wire and plastic may suit specialized display or storage requirements. Mixed-media construction can combine these benefits within one counter, placing more durable materials where contact is frequent and more expressive finishes where customers see them first.
Consider cleaning routines, impact exposure, edge treatment, hardware access, and the way the surface will age. S-CUBE supports wood, metal, acrylic, glass, wire, plastic, and mixed-medium combinations, along with custom color matching and finish recommendations. For a deeper specification framework, see durable retail counter materials.
Finish matching is more than selecting a color chip. It includes coordinating sheen, texture, adjacent fixtures, lighting conditions, and surrounding store finishes. Document the approved materials and finish details so procurement, manufacturing, and installation teams can reproduce the intended result instead of interpreting it location by location.
Value engineering can evaluate alternative materials, simplify a design, optimize manufacturing methods, or reduce assembly complexity. Those changes may improve practical value, but savings are not guaranteed and should never be assumed before the options are reviewed against durability, appearance, maintenance, and rollout requirements. A prototype, finish sample, or functional review can help the team approve tradeoffs before production begins.
A successful pilot is only the starting point. For a multi-location program, the counter concept must become a controlled system that can be specified, manufactured, inspected, and installed consistently while allowing for documented site differences.
Use the prototype to test the details that drawings cannot fully answer: employee workflow, customer approach, reach, service access, storage, materials, finish quality, and assembly. S-CUBE supports concept development, 3D renderings, CAD design, technical drawings, material selection, finish recommendations, and functional prototypes for evaluation. Record every approved decision so the prototype becomes the reference point for production rather than a one-time mockup.
Build an approved package that identifies dimensions, materials, finishes, hardware, lighting or security features where applicable, component relationships, and installation requirements. Keep the core retail counter design consistent, then document permitted variations for footprint, utilities, merchandising needs, or local conditions. This approach gives architects, procurement teams, and installers a shared standard without forcing every store into an identical plan. For a broader framework, review these multi-location retail design standards and this guide to modular retail fixture design.
Before release, confirm that the drawings, bill of materials, finish samples, packaging, installation instructions, and site requirements agree. During production, quality checks should include material and finish verification, dimensional checks, and consistency across production runs. A dedicated project manager can coordinate approvals, manufacturing, logistics, and installation readiness. The result is a repeatable program that can move from pilot stores toward a rollout across 500 or more locations without losing control of the details.
| Stage | Inputs | Review |
|---|---|---|
| Requirements | Flow, storage, devices | Operations |
| Prototype | Drawings, finishes | Staff workflow |
| Rollout | Standards, site details | Quality |
Start by defining the counter's job, transaction volume, users, merchandise, technology, storage, and customer approach. Then map staff and customer movement, reserve accessible routes and usable transaction space, select materials for traffic and maintenance, and coordinate power and data requirements before fabrication. A concept should progress through drawings, finish selections, and a functional review so the approved design can be repeated across locations.
There is no universal depth. Set it by the equipment, storage, work surface, reach distance, circulation, and available floor area. A shallower counter may reduce the reach required when staff pass items to customers, but the final depth should be confirmed in plan and elevation drawings. Test it with the actual devices and workflow before fabrication.
Plan the full accessible approach, not only the counter face. Review the route, entrance, queue, checkout or service position, clear floor space, knee and toe clearance, surface height, and floor conditions with the project architect or accessibility professional. The 2010 ADA Standards establish minimum requirements for newly designed, constructed, or altered public accommodations and commercial facilities: ADA 2010 Standards. Treat published dimensions as planning references and verify local requirements for the project.
Current planning emphasizes counters that do more than complete a transaction. Retailers are combining clear customer flow, flexible technology zones, concealed operational storage, durable materials, and brand-specific finishes. The strongest trend is not a single look. It is designing a counter that supports changing workflows while remaining visually consistent across locations. Evaluate each idea against maintenance, accessibility, staff ergonomics, and rollout repeatability before adopting it.
A well-planned counter can bring customer flow, staff workflow, storage, technology, accessibility, and brand expression into one repeatable fixture solution. To discuss your requirements across one location or a multi-location rollout, contact S-CUBE Fixtures about custom retail fixtures. Share your store conditions, operational priorities, and rollout goals so the planning conversation can focus on the details your team needs to move forward.
Subscribe for expert insights on fixture design, materials, and modern retail environments.