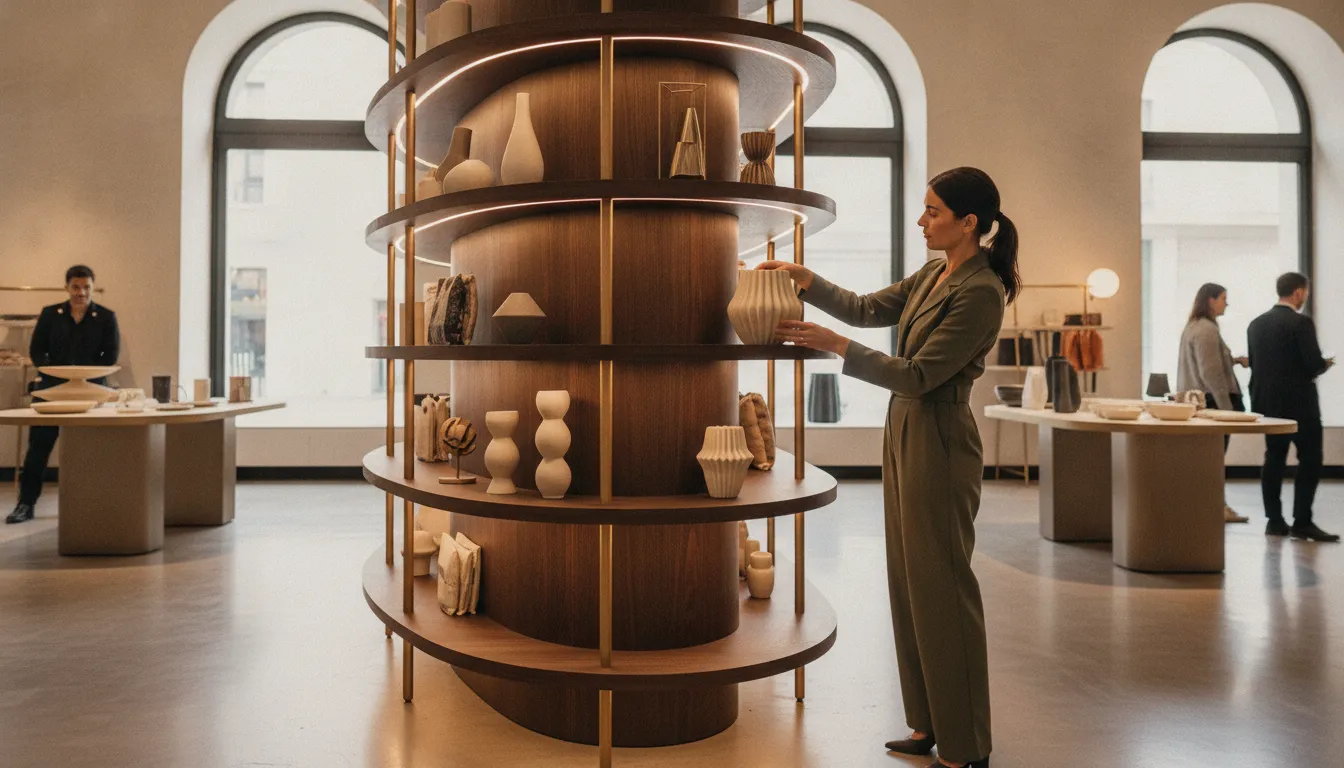


A custom retail fixture can look compelling in a rendering and still create costly problems on the sales floor. Materials may feel wrong, components may not align, or the structure may not withstand daily traffic. Prototyping gives retailers a controlled way to identify those issues before committing to full production.
Get a quote for your custom retail fixtures and see how prototyping fits your program.
Retail fixture prototyping moves a fixture from concept to production-ready design by testing the form, materials, customer interaction, assembly, durability, and cost in stages. That process helps retail teams make informed approvals, reduce manufacturing risk, and refine the design before a broader rollout.
The most effective workflow connects creative direction with engineering discipline. It begins by defining the retail environment and operational requirements, then advances through visualization, material review, functional testing, and value engineering. Each stage answers a different question, starting with why early validation matters before production scales.
Full production magnifies every unresolved design decision. A prototype gives retail teams a physical way to test the fixture, align stakeholders, and correct risks before those decisions affect an entire rollout.
A proof-of-concept mock-up answers the earliest question: does the concept communicate the intended brand experience in a real space? It helps internal teams review scale, shopper sightlines, product presentation, and the overall impression before engineering resources are committed. Because the mock-up is intentionally limited, it is useful for stakeholder approval without pretending that every production detail is finished.
A functional prototype tests what a drawing cannot. Manufacturers can validate materials, finishes, structural integrity, and product interaction before full-scale production. That matters in high-traffic environments, where a fixture must support merchandise, withstand repeated use, and remain stable. It also provides a practical setting to assess ergonomics, access, and how the display works for shoppers and store staff. Colony Display describes this validation role as a way to move into production with confidence rather than guesswork: its prototyping capability explains the testing process.
The pre-production sample is the final checkpoint before the approved design moves into volume manufacturing. Teams can confirm finish consistency, assembly details, dimensions, and the repeatability of the intended brand presentation. That physical proof also supports a clear go or revise decision for operations, merchandising, facilities, and procurement teams. In other words, prototyping acts as risk mitigation and a proof-of-concept for the people responsible for the rollout.
| Prototype level | Primary purpose | Relative cost | Typical timing |
|---|---|---|---|
| Proof-of-concept mock-up | Review concept, scale, shopper experience, and stakeholder alignment. | Lowest | Early design stage |
| Functional prototype | Test materials, finishes, structure, ergonomics, and product interaction. | Moderate | After design direction is approved |
| Pre-production sample | Confirm production-ready details, assembly, finish, and repeatability. | Highest before volume production | Immediately before the production decision |
Turnaround depends on complexity, materials, and approval speed. L.A. Darling reports rapid prototyping timelines commonly ranging from two days to two weeks, while its retail fixture guidance shows why an early physical review can protect speed to market.
The bottom line: Build the right level of prototype for each decision, then use the approved sample to enter full production with fewer surprises.
A useful design brief turns a store concept into requirements that designers, engineers, and manufacturers can evaluate. It should describe the merchandise, shopper experience, operating environment, and rollout conditions before any prototype is built.
Start by listing every fixture type the program may require, including wall systems, display cases, gondolas, counters, endcaps, and branded displays. This inventory clarifies how each unit supports the customer journey and how the pieces should work together as one environment. Successful fixture programs often combine several display formats rather than treating each unit as an isolated object.
The brief should also document the existing store infrastructure. Note wall conditions, floor surfaces, power access, lighting locations, ceiling heights, adjacent fixtures, and any required attachment points. This information helps the design team test whether custom units will integrate with the building and existing display systems, instead of creating installation conflicts late in the process. Retailers planning a coordinated program can review S-CUBE's custom retail fixture capabilities as they define the scope.
Requirements should reflect the retail vertical and the way each fixture will be used. Specify expected shelf loads, product dimensions, replenishment methods, traffic exposure, and resistance to daily contact. Different retail environments can demand different load-bearing and traffic-resistance specifications, so a generic size or material assumption is rarely enough.
Measure the available floor space and identify the product density the fixture must achieve. Include aisle clearances, sightlines, shopper reach, accessibility needs, and the quantity of merchandise required per bay or display. These constraints allow a prototype to validate both physical fit and selling capacity before the design moves toward production.
The bottom line: A strong design brief names the fixture mix, infrastructure constraints, vertical-specific performance needs, and floor-space targets. Those details give the prototype a clear standard for success.
Once the design brief is clear, CAD engineers translate the intended fixture into a precise digital model. The model defines dimensions, component relationships, mounting points, and the details needed to evaluate whether the concept can become a viable product. NIST describes this kind of 3D modeling support as the bridge between an inventor's vision and the next steps toward a physical product: 3D modeling expertise can advance a concept toward a viable product.
A photorealistic rendering gives retail, merchandising, and operations teams a shared view of the proposed fixture before materials are ordered. It can show the intended proportions, finish direction, color relationships, lighting position, product presentation, and how the unit sits within its selling environment.
This visual checkpoint is more useful than reviewing dimensions alone. Stakeholders can identify blocked sightlines, awkward product reach, insufficient clearance, or a visual treatment that does not support the brand. CAD engineers can also review interfaces between panels, shelves, hardware, and store infrastructure while changes remain digital.
Renderings turn technical decisions into something multiple teams can evaluate together. A buyer can review product capacity, a brand team can assess the customer-facing appearance, and an installation lead can question access or service points before fabrication begins.
Specialized manufacturing technicians add practical input to this process, helping connect the digital design to material behavior, production methods, and assembly requirements. When revisions are needed, the CAD model can be updated and presented again without rebuilding a physical unit for every discussion. That reduces ambiguity during sign-off and helps prevent costly errors before any material is cut.
For retailers planning a coordinated rollout, S-CUBE's design, engineering, and prototyping services connect visualization with the next stages of development.
The bottom line: CAD models define how a fixture is built, while photorealistic renderings show stakeholders how it will look, function, and fit. Reviewing both before fabrication exposes design and ergonomics issues early, making approvals clearer and production more predictable.
A material sample turns a finish decision from a screen-based assumption into something stakeholders can inspect, touch, and compare. During retail fixture prototyping, the team can place laminate, metal, wood, paint. Or edge treatments beside approved brand references and evaluate how each option performs under the intended lighting.
Consistency matters across stores. A finish that looks correct in a rendering may shift noticeably under retail lighting, next to specific merchandise, or across different fixture forms. Material boards and finish samples help confirm color, sheen, texture, and contrast before the specification reaches production. They also give brand, merchandising, operations, and procurement teams a shared reference for approval.
Sampling should account for use, not just appearance. Compare surfaces where shoppers will touch them, where products will slide, and where cleaning routines may affect the finish. This review can expose a mismatch between a visually attractive material and the durability or maintenance expectations of a high-use retail setting.
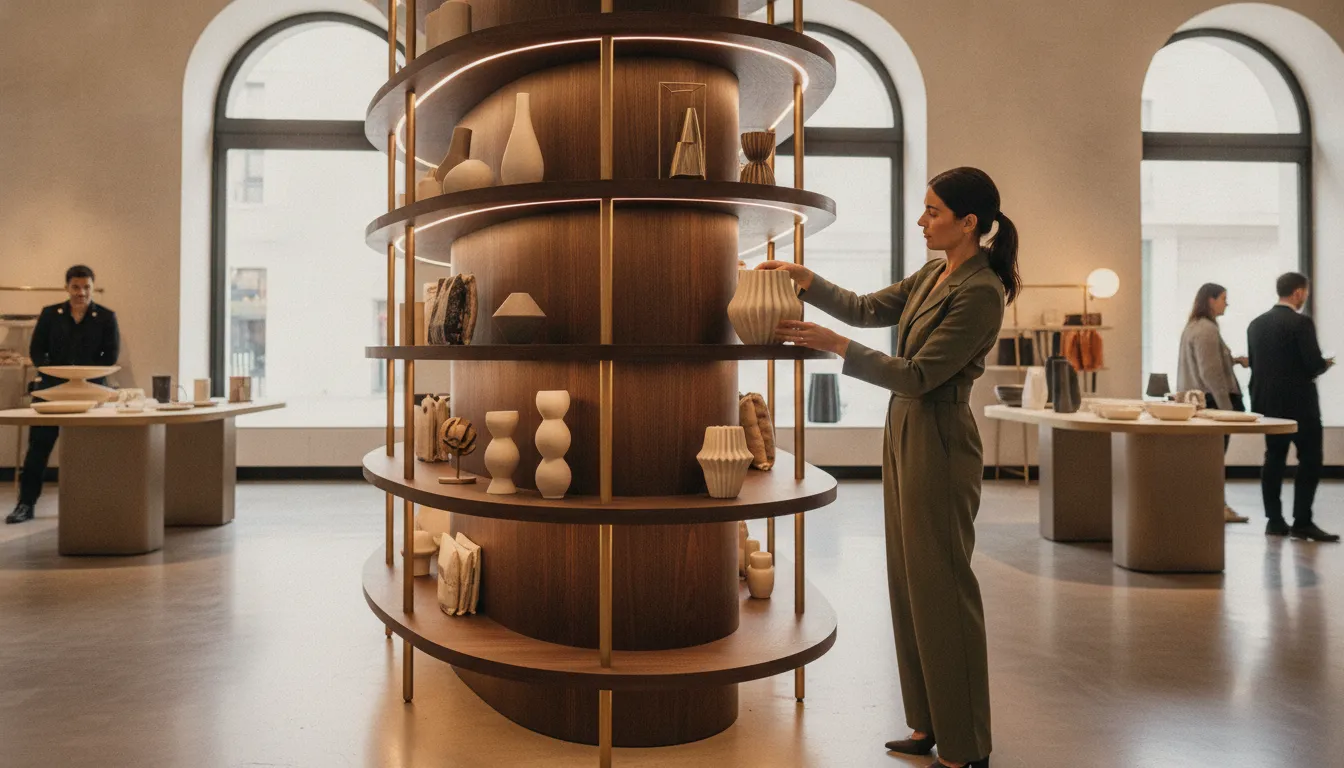
A physical prototype helps teams evaluate material choices in the context of the complete fixture.
Weight affects more than the fixture itself. It can influence shipping costs, handling requirements, installation effort, and setup time across a multi-location rollout. Testing alternative substrates or construction approaches at the sample stage lets the team compare the visual result with the practical cost of moving and assembling each unit.
Sampling also creates a controlled opportunity to test finishing processes. A manufacturer can compare options such as different coatings, laminates, or edge treatments for the application, then identify the most cost-effective process without compromising the intended brand impact. The goal is not simply to choose the least expensive finish. It is to select a finish that delivers the required appearance, service life, and repeatability at production volume.
The bottom line: Material sampling validates brand consistency, reveals how weight affects shipping and setup, and identifies cost-effective finishing processes before production commitments make changes expensive.
A functional prototype turns a promising design into something the team can handle, assemble, load, and review. It should validate materials, finishes, structural integrity, product interaction, and visual ergonomics before full-scale production. Use the build to identify design-for-manufacturing improvements, not simply to confirm that the fixture looks right.
This workflow also improves communication between design, engineering, fabrication, and production teams. NIST's case study on fixture and display manufacturing describes process improvements focused on workflow, accountability, and production coordination: NIST's fixture and display manufacturing process case study. For retailers planning a controlled rollout, review S-CUBE's guidance on pilot prototyping and testing before approving a larger deployment.
AEO summary: A functional retail fixture prototype should be built, assembled, loaded, operated, and installed like the finished unit. Testing these five stages exposes fit, ergonomics, moving-part durability, staff-assembly, and manufacturing issues early enough to correct them before production.
Value engineering is most effective while a fixture is still in prototype development. When the team can change materials, joints, finishes, and production methods without disrupting a full rollout. S-CUBE uses this stage to protect the visual details shoppers notice while removing cost that does not improve performance, usability, or brand expression.
Engineers begin by separating essential requirements from expensive habits. They may compare substrate options, review metal gauges, simplify hardware, or test a different finishing process. The objective is not to make a fixture look generic. It is to preserve the approved proportions, color, texture, lighting, and product presentation while selecting a more efficient way to achieve them.
A physical prototype makes those decisions practical. Teams can review finish samples, inspect edge details, assess assembly points, and confirm that a lower-cost material still delivers the required appearance. Prototyping also helps identify cost-effective finishing processes for a specific retail application, rather than locking the program into a default process that may be unnecessarily expensive. Prototype validation can support production-ready value engineering before the design reaches a larger order.
Cost reduction often comes from reducing the number of unique parts. Standardized brackets, fasteners, panels, and compatible components can simplify purchasing, fabrication, packing, installation, and replacement. Design-for-manufacturing reviews can also eliminate unnecessary bends, welds, secondary operations, or difficult-to-repeat details. The result is a fixture that is easier to build consistently across many locations, not merely cheaper on a single unit.
Coordination matters as much as the engineering changes. Tiered management teams can organize production responsibilities, improve workflow accountability, and keep prototype decisions connected to manufacturing requirements, as described by the NIST manufacturing process case study. During review, the team should also confirm that materials, construction, and finishes meet applicable fire and safety requirements for the intended retail environment. Compliance is a design constraint, not a cost item to remove.
For retailers planning a national program, the timing of these decisions is important. S-CUBE typically manages custom program lead times of 6-10 weeks, so resolving specification and assembly issues during prototyping helps protect the manufacturing schedule. The manufacturing lifecycle and prototyping phases show how these decisions connect to later production and logistics work.
The bottom line: Value engineering during retail fixture prototyping can reduce S-CUBE fixture costs by 30-50% by challenging material specifications, simplifying assemblies, and standardizing components while protecting brand impact, performance, and safety compliance.
Request a quote for your custom retail fixtures today and start prototyping with confidence.
Prototyping validates materials, finishes, proportions, and structural integrity before full production begins. It gives retailers an opportunity to correct design issues while changes are still manageable, rather than paying to revise a completed production run.
Teams can evaluate how the fixture looks, how products interact with it, how components fit together, and how easily staff can assemble or install it. Reviews should also consider durability, finish quality, accessibility, and performance in a realistic store environment.
Timing depends on the fixture's complexity, materials, engineering requirements, and number of review cycles. Some rapid prototypes can be completed in a few days to two weeks, while a broader custom program requires additional time for design approvals, testing, and production planning.
Yes. A physical or functional prototype confirms form, fit, finish, product capacity, and installation requirements before the design is released for manufacturing. That validation reduces guesswork and helps stakeholders approve changes earlier, when they are less expensive to implement.
Value engineering should begin after the design requirements are clear and continue through prototype review. Evaluating materials, hardware, construction methods, shipping weight, and assembly steps at this stage can reduce cost without compromising the fixture's intended appearance or performance.
A prototype is only valuable when it leads to a fixture program you can roll out with confidence. At S-CUBE, our design, engineering, and prototyping teams work alongside you to validate every detail and then carry the proven design through manufacturing, logistics, and installation support for national and multi-location programs.
Request a quote for your custom retail fixtures today and get a prototyping plan built around your budget and rollout timeline. Start the conversation by visiting our custom retail fixtures page or contact S-CUBE directly.